 Printable Scholar
Origami Dog Face
An easy origami dog face, one of the first models most children learn. Print the sheet, cut out the square and fold on the numbered lines. The ears fold down, the point folds up into a black nose, and the face is already printed on.
An easy origami dog face, one of the first models most children learn. Print the sheet, cut out the square and fold on the numbered lines. The ears fold down, the point folds up into a black nose, and the face is already printed on.
The fold lines and their numbers are printed on the sheet. Each picture shows the paper after that step.
 Step 1Cut out the square on the solid line.
 Step 2Turn it so a corner points up. Fold back on line 1: a triangle, point down.
 Step 3Fold both ears down on the 2 lines.
 Step 4Fold the point up on line 3 for the nose. Woof!
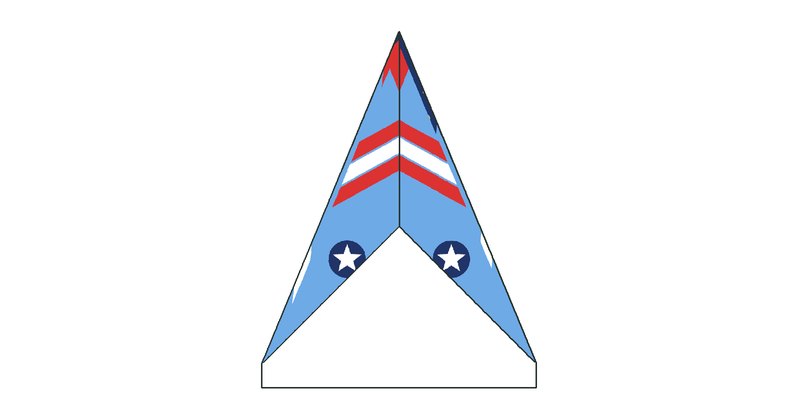 Paper AirplaneThe classic dart, with stars on the wings.6 steps · free PDF
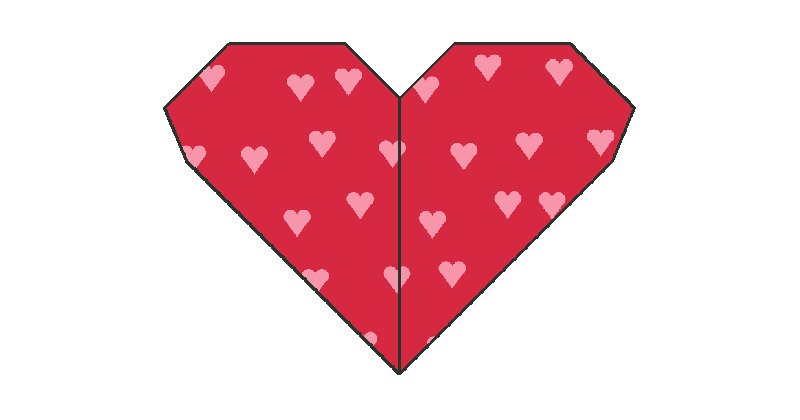 Origami HeartTen small folds, no turning over.5 steps · free PDF
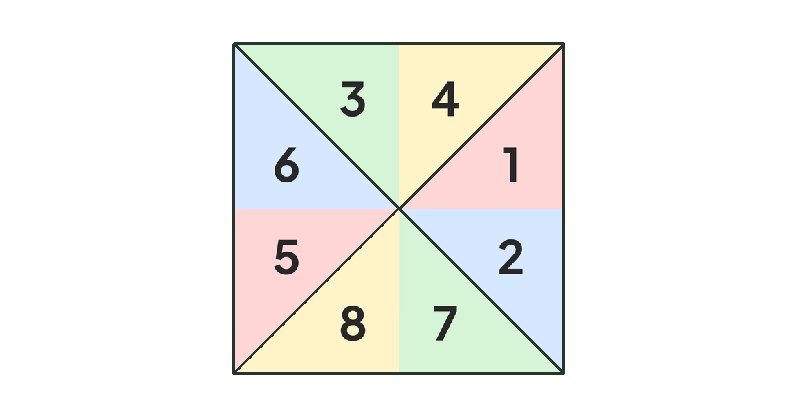 Paper Fortune TellerColor words, numbers and eight fortunes.4 steps · free PDF
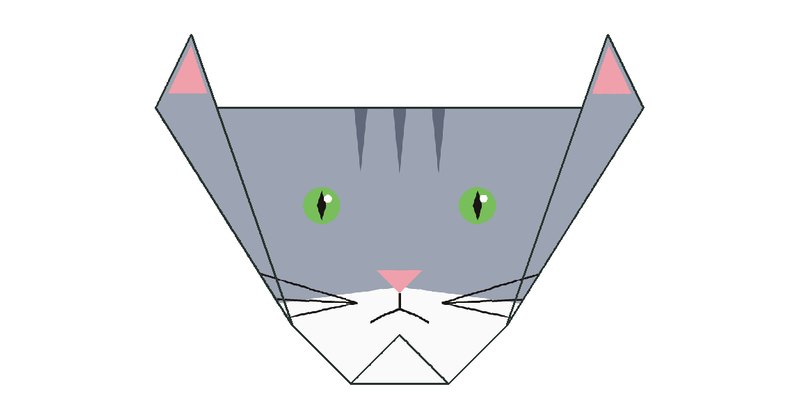 Origami Cat FaceFour folds. Pointed ears, whiskers and stripes.4 steps · free PDF
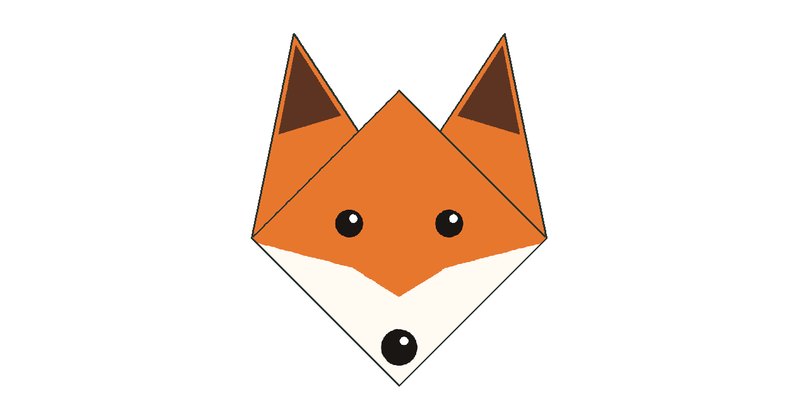 Origami Fox FaceFive folds. Ears, eyes and nose land in place.4 steps · free PDF
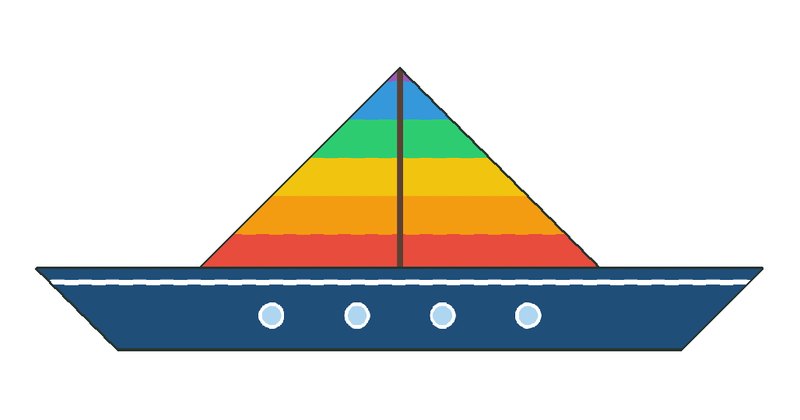 Origami SailboatTwo folds. The stripes land on the sail.4 steps · free PDF
Most origami starts with plain paper and a diagram to follow. This sheet puts the fold lines, their numbers and the picture right on the paper, so a child can fold it on their own. The picture is printed in pieces, each one where it ends up once the paper is folded, so it only comes together at the end.
More to fold: all the origami printables. More to make: step-by-step drawing lessons and coloring pages.
Fold the square in half into a triangle, point down. Fold the two side corners down as ears, then fold the bottom point up to make the nose.
Plain printer paper. Print the sheet on US Letter paper at 100 percent (actual size), then cut out the shape on the solid line. Thinner paper folds more easily than card stock.
Yes. The pictures come out in gray and every fold works the same.
Each part of the picture is printed where it lands once the paper is folded, so the flat sheet looks scrambled. Fold on the lines in number order and it comes together.
 Free printable sheet (PDF)